我们要做的最后一件事是在我们的文章详情页面添加一些评论功能:
- 打开 single.php 文件,我们要在类名为panel-body的div底部再添加一个评论模板, 添加comments_template() 方法:
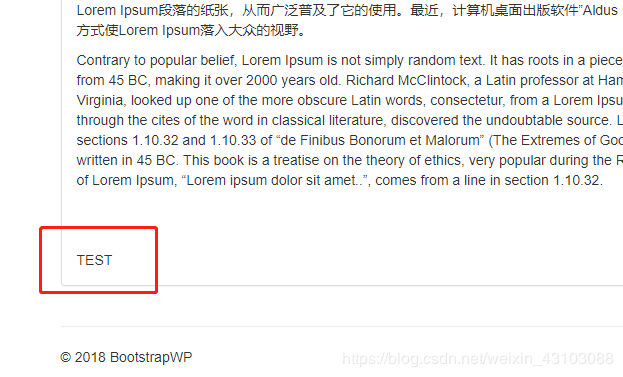
<?php endif; ?><?php comments_template(); ?></div>2. 创建一个名为 comments.php 的新文件,在文件内输入TEST,保存并刷新页面。
3. 接下来在comments.php 文件中添加评论模板结构:
<div class="comments">
<?php if(have_comments()): ?>
<h3 class="comments-title"><?php echo get_comments_number(). ' 条评论'; ?></h3>
<ul class="row comment-list">
<?php wp_list_comments(array('avatar_size' => 90, 'callback' => 'add_theme_comments'));?>
</ul><?php
if(!comments_open() && '0' != get_comments_number() && post_type_supports(get_post_type(), 'comments')) : ?>
<p class="no-comments"><?php _e('Comments are closed.', 'dazzling'); ?></p>
<?php endif; ?>
<?php endif; ?>
</div>
这部分代码是最外围一个类名为comments的div和<?php if(have_comments()): ?>,内部包含了h3,ul,和p标签三部分。上面的代码将检查评论功能是否已关闭,如果是,那么我们可以留下一点注释。
4. 接下来我们在这个div下方放置一条横线, 然后我们需要创建我们的注释参数,然后创建表单:
<hr>
<?php
$comments_args = array(
// change the title of send button
'label_submit'=>'发布',
// change the title of the reply section
'title_reply'=>'写下评论',
// remove "Text or HTML to be displayed after the set of comment
//fields"
'comment_notes_after'=>'',
// redefine your own textarea (the comment body)
'comment_field'=>'<p class="comment-form-comment">
<label for="comment">' ._x('Comment', 'noun') . '</label><br/>
<textarea class="form-control" id="comment" name="comment"
aria-required="true">
</textarea></p>',
);
comment_form($comments_args);
保存代码,刷新前端页面:

提示无法找到回调函数 add_theme_comments,问题出在这里:
<?php
    wp_list_comments(array(
        'avatar_size' => 90,
        'callback' => 'add_theme_comments'
    ));
?>
打开 functions.php 文件,添加下面的代码:
// Add Comments
function add_theme_comments($comment, $args, $depth){
    $GLOBALS['comment'] = $comment;
    extract($args, EXTR_SKIP);
    if('div' == $args['style']){
    $tag = 'div';
    $add_below = 'comment';
    } else {
    $tag = 'li class="well comment-item"';
    $add_below = 'div-comment';
    } ?>
现在我们有一个名为add_theme_comments()的函数,它和我们的回调相匹配。 然后我们向函数传递了三个参数。我们通过这些参数在下面添加了一些标签和类,以便我们可以设置这个样式。
现在我们也会发布其他一些东西。 为此,我们添加以下代码:
<<?php echo $tag; ?> <?php comment_class( empty( $args['has_children'] ) ? '' : 'parent' ); ?> id="comment-<?php comment_ID() ?>"><?php
    if ( 'div' != $args['style'] ) { ?>
        <div id="div-comment-<?php comment_ID() ?>" class="comment-body"><?php
    } ?>
        <div class="comment-author vcard"><?php
            if ( $args['avatar_size'] != 0 ) {
                echo get_avatar( $comment, $args['avatar_size'] );
            }
            printf( __( '<cite class="fn">%s</cite> <span class="says">says:</span>' ), get_comment_author_link() ); ?>
        </div><?php
        if ( $comment->comment_approved == '0' ) { ?>
            <em class="comment-awaiting-moderation"><?php _e( 'Your comment is awaiting moderation.' ); ?></em><br/><?php
        } ?>
        <div class="comment-meta commentmetadata">
            <a href="<?php echo htmlspecialchars( get_comment_link( $comment->comment_ID ) ); ?>"><?php
                /* translators: 1: date, 2: time */
                printf(
                    __('%1$s at %2$s'),
                    get_comment_date(),
                    get_comment_time()
                ); ?>
            </a><?php
            edit_comment_link( __( '(Edit)' ), '  ', '' ); ?>
        </div>

        <?php comment_text(); ?>

        <div class="reply"><?php
                comment_reply_link(
                    array_merge(
                        $args,
                        array(
                            'add_below' => $add_below,
                            'depth'     => $depth,
                            'max_depth' => $args['max_depth']
                        )
                    )
                ); ?>
        </div><?php
    if ( 'div' != $args['style'] ) : ?>
        </div><?php
    endif;
}
上面这部分代码可以在https://codex.wordpress.org/Function_Reference/wp_list_comments找到。让我们保存代码到前端刷新页面看看:
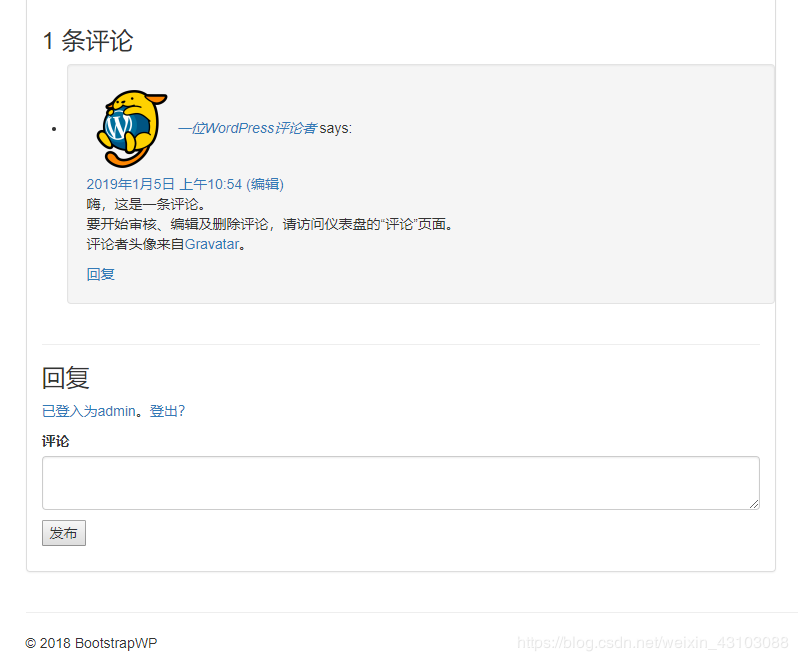
5. 打开style.css和添加名为comment-item的类。
.comment-list{list-style: none;
margin:0 !important;
padding:0 !important;
}
.comment-item{overflow:auto;
}
现在这个主题看起来很不错。 我们可以回复并留下评论。 我们现在有一个带Bootstrap的WordPress主题,我们可以把它作为基本主题来创建其他Bootstrap主题。我们还使用了navbar-walker,这非常有用。
总结:
到目前为止我们学习了如何构建基础的Bootstrap WordPress主题。 我们处理了文章类别,最近的帖子和最近的评论等小部件,以使它们适合Bootstrap主题。我们还研究了博客文章的遍历展示并为其添加了元数据。 我们看到了如何设置导航栏以及侧边栏小部件。 我们还添加了一个搜索框并构建了文章详情页面。 我们还处理了评论功能 – 评论部分和表格。
希望这个教程对喜欢WordPress的朋友们有帮助。
本教程摘自:https://blog.csdn.net/weixin_43103088
近期评论